Unlocking the HEIC to JPG Conversion: A Comprehensive Guide
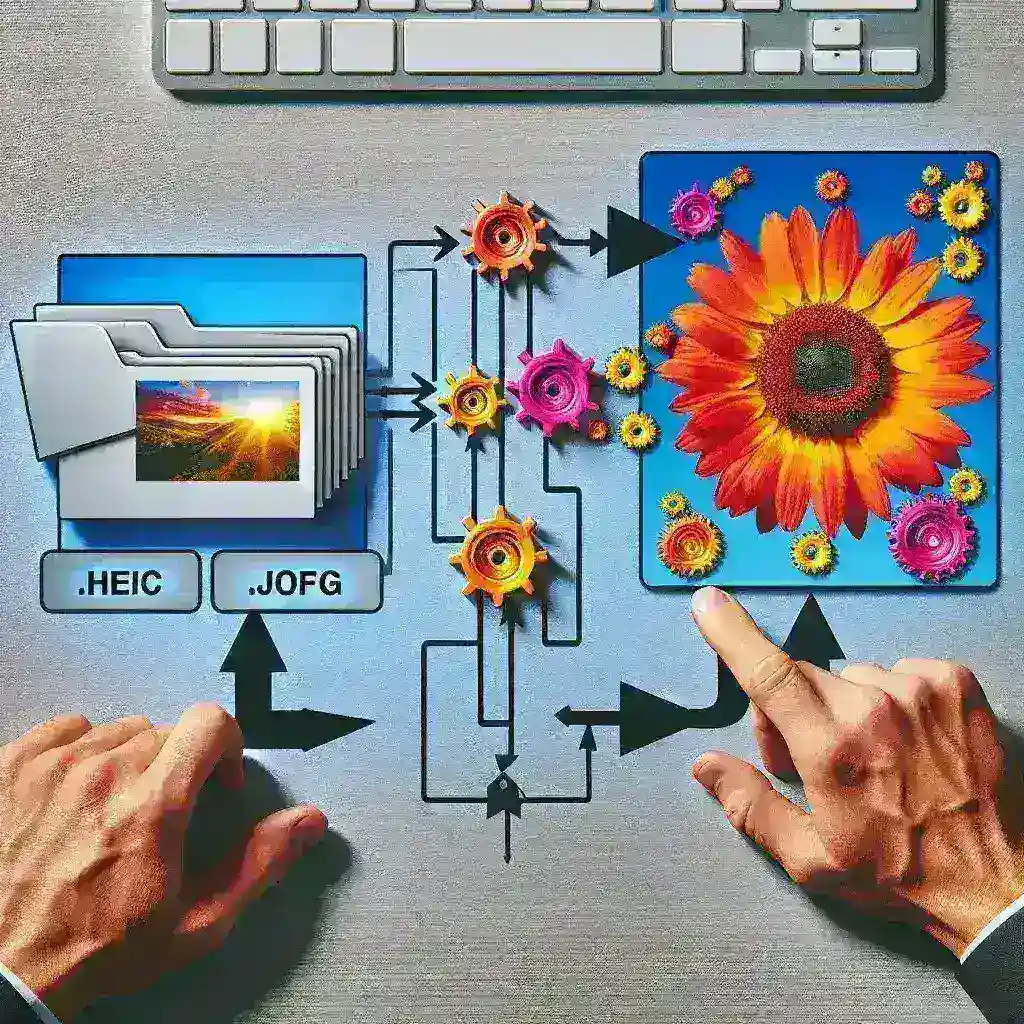
The High Efficiency Image File Format (HEIC) is a relatively new kid on the block, offering superior compression compared to its older JPEG counterpart. However, its newer status means that not all devices and software support it natively. This understandably leads to the frequent question: how do I convert HEIC to JPG? This in-depth guide tackles that question, providing multiple solutions to suit various technical skill levels and scenarios.
Let’s start with the basics. HEIC files, often found on iPhones and other Apple devices, are smaller than their JPG equivalents while retaining comparable image quality. This is due to HEIC’s advanced compression algorithm. However, this advantage comes with a trade-off: limited compatibility. Many older software, websites, and even printers might struggle to handle HEIC files, making conversion necessary to ensure broad accessibility.
Method 1: The Quick and Easy Online Conversion
For a simple, one-off conversion, online tools are your best friend. Numerous websites offer HEIC to JPG conversion services. These generally involve uploading your HEIC file, selecting the JPG format, and downloading the converted image. The process typically takes only a few seconds and requires no prior knowledge or installation.
Important Note: When choosing an online converter, prioritize reputable websites that prioritize data security. Read user reviews and look for sites with HTTPS encryption to ensure your images are handled safely. Using a less trustworthy service could expose your personal photos to security risks.
Method 2: Leveraging System Capabilities (macOS & Windows)
Both macOS and Windows offer built-in functionalities (or readily available options) to handle HEIC to JPG conversion. This method provides a more permanent solution, eliminating the need for repeated online conversions.
macOS: A Built-in Solution
On macOS, the process is elegantly simple. Open your HEIC image in the Preview app. Navigate to “File” > “Export”. Select “JPEG” as the file format and choose your desired quality settings (higher quality means a larger file size). Click “Save” and your conversion is complete. This intuitive method makes converting HEIC images on a Mac effortless.
Windows: Utilizing Built-in Features
Windows 10 and 11 handle HEIC files differently, often requiring a simple extension update to allow them to be viewed and modified directly. If your computer doesn’t already show previews of HEIC files, search for “HEIC image extensions” in the Microsoft Store. Download and install the free extension from Microsoft. After installation, you can open an HEIC file with the Photos app, or any other image editing software that supports JPEG, and use its “Save As” option to change the file format to JPG.
Method 3: The Power of Dedicated Image Editing Software
For users who frequently handle various image formats, investing in a dedicated image editing tool is a worthwhile investment. These tools, such as Adobe Photoshop, GIMP (a free and open-source alternative), or others, offer a wide array of features beyond HEIC to JPG conversion. They allow for more control over image quality, size, and other parameters during the conversion process.
Most professional image editors offer direct file format conversion. Simply open the HEIC file, navigate to the “Save As” or “Export” option, and choose JPEG as the output format. The software will handle the conversion efficiently and often allows fine-tuning of image settings.
Using dedicated software allows for batch processing for a large number of images. Batch conversion is an efficient feature that saves significant time when dealing with multiple HEIC files. This batch processing is a time-saver for photographers and others who work with large numbers of images.
Method 4: Using Third-Party Converters
Numerous third-party applications specialize in image format conversions. Many of these applications are available for free or with a subscription cost. These converters often have a user-friendly interface and can handle various file formats beyond HEIC and JPG. Some are specifically designed for batch conversion, making them suitable for processing large numbers of images.
Before downloading any third-party application, ensure it is from a trusted source. Read user reviews and verify that the application is free from malware. Always download software from official websites to avoid security threats.
Choosing the Right Method: A Practical Guide
The most appropriate method for converting HEIC to JPG depends on your individual needs and technical expertise. For a quick, one-time conversion, online tools are the ideal choice. For macOS users, the built-in Preview app provides a hassle-free solution. Windows users might need to add an extension. For users who manage images frequently, dedicated image editing software or third-party converters offer added flexibility and advanced features.
Remember that once converted to JPG, you might lose some information regarding image details and colors. HEIC’s compression is generally more efficient, so you may need to slightly increase the quality settings when converting to JPG to get a comparable file size. While HEIC is superior in terms of compression, the ubiquity of JPG ensures better compatibility across platforms, making this conversion a crucial step in many scenarios.
Maintaining Image Quality During Conversion
When converting HEIC to JPG, it’s vital to pay attention to image quality settings. Higher quality settings result in larger file sizes but preserve more image details. Conversely, lower settings offer smaller files but might compromise image sharpness and color accuracy. Finding the right balance between file size and quality depends on your specific needs and the intended use of the image. In some cases, you might not notice a significant loss in image quality even with lower settings.
Experiment with different quality levels to determine the best compromise for your workflow. The ideal setting may vary widely depending on the image itself. Images with more detail or complex color gradients require higher quality settings to prevent noticeable degradation.
Remember, once converted, you cannot easily revert to the HEIC file without re-encoding. It is wise to keep the original HEIC file to avoid the need for re-conversion. This ensures you can use the original high-quality image if needed.
In conclusion, converting HEIC to JPG is a straightforward process with multiple avenues for achieving it. Selecting the right method depends on your specific needs, technical skills, and frequency of use. Whether using online tools, built-in operating system features, or dedicated software, the process is readily accessible to all. By understanding these options, you can efficiently manage your images and ensure their compatibility across various platforms and applications.
For further information on optimizing image quality, consult the resources available at Example Website. Always prioritize using trusted resources for reliable information on image management. For more details on file management best practices, you may find this resource helpful.